Student Information
Ewan Pedersen CS2210 10 • 09 • 2024
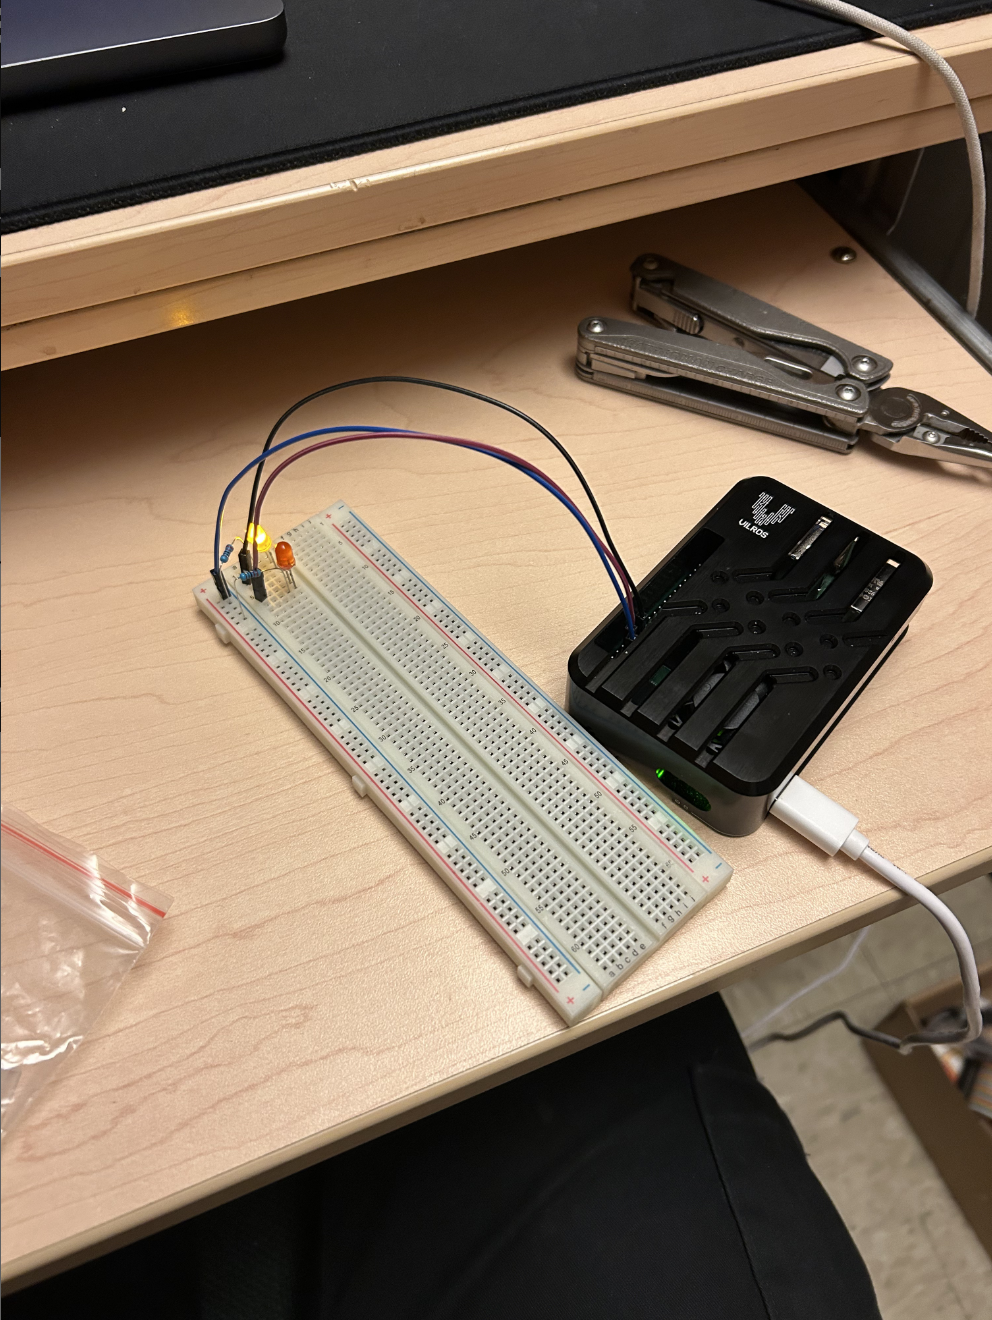
6. Add a Yellow LED that is ON while the Red LED is OFF (alternating LEDs). Take a picture of Your Completed Circuit on the Breadboard, Connected to Your Pi.
Screenshot
7. What is the Current in Milliamps?
Ohm’s Law:
Red LED:
Plugging in values:
Yellow LED:
Plugging in values:
Results:
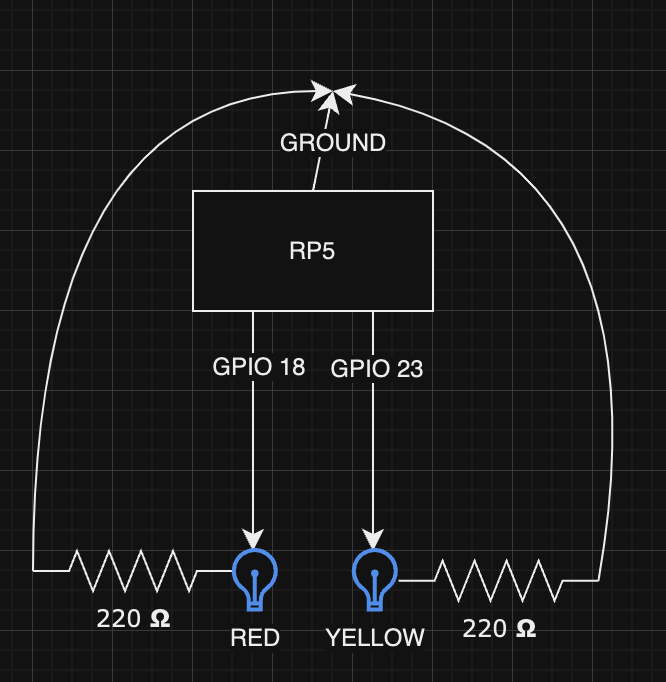
8. Use https://www.lucidchart.com (free account with a .edu Email address), or https://www.draw.io to Create a Circuit Diagram of Your Final Circuit (with both LEDs). Take a screenshot of Your Diagram.
You can’t see it from the screenshot, but the glow follows your cursor as you hover over the card.
Screenshot
Completed Code from Steps 5 and 6
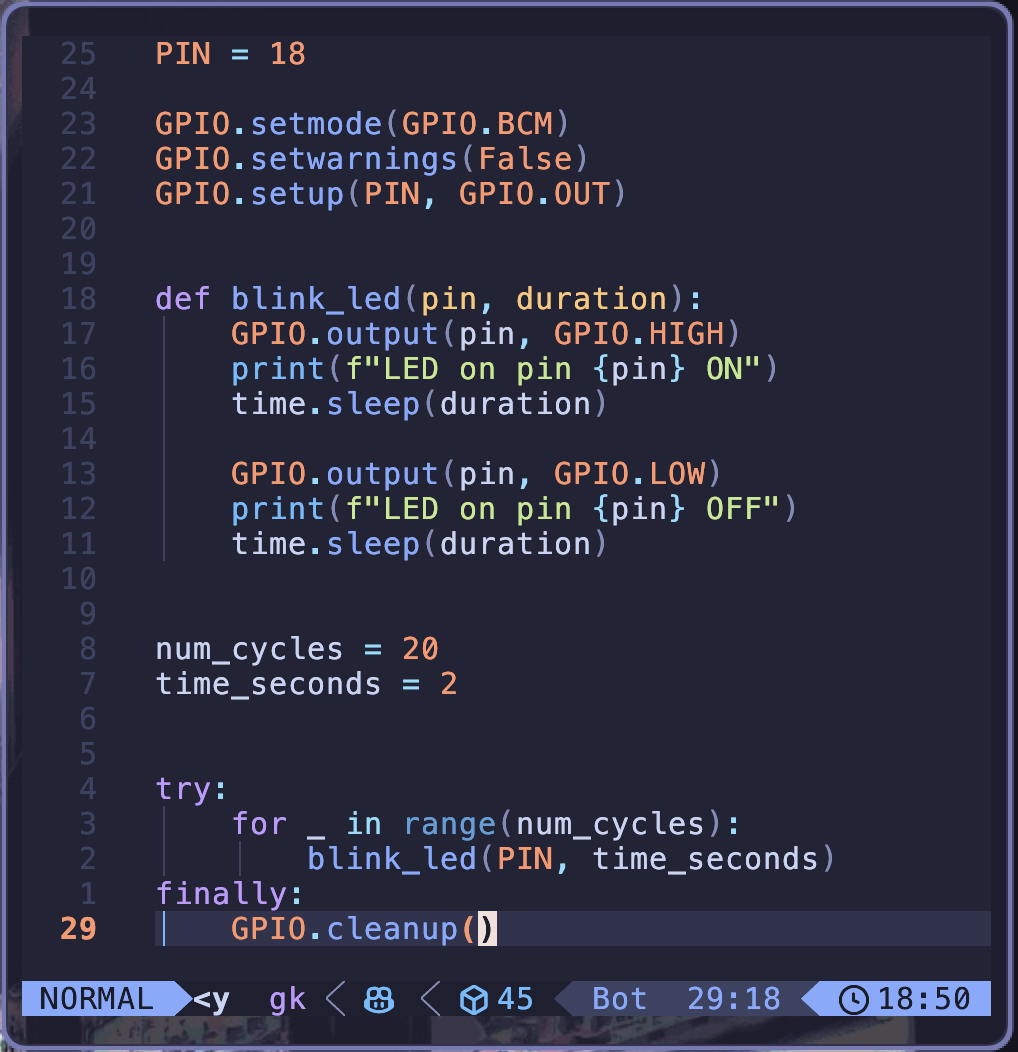
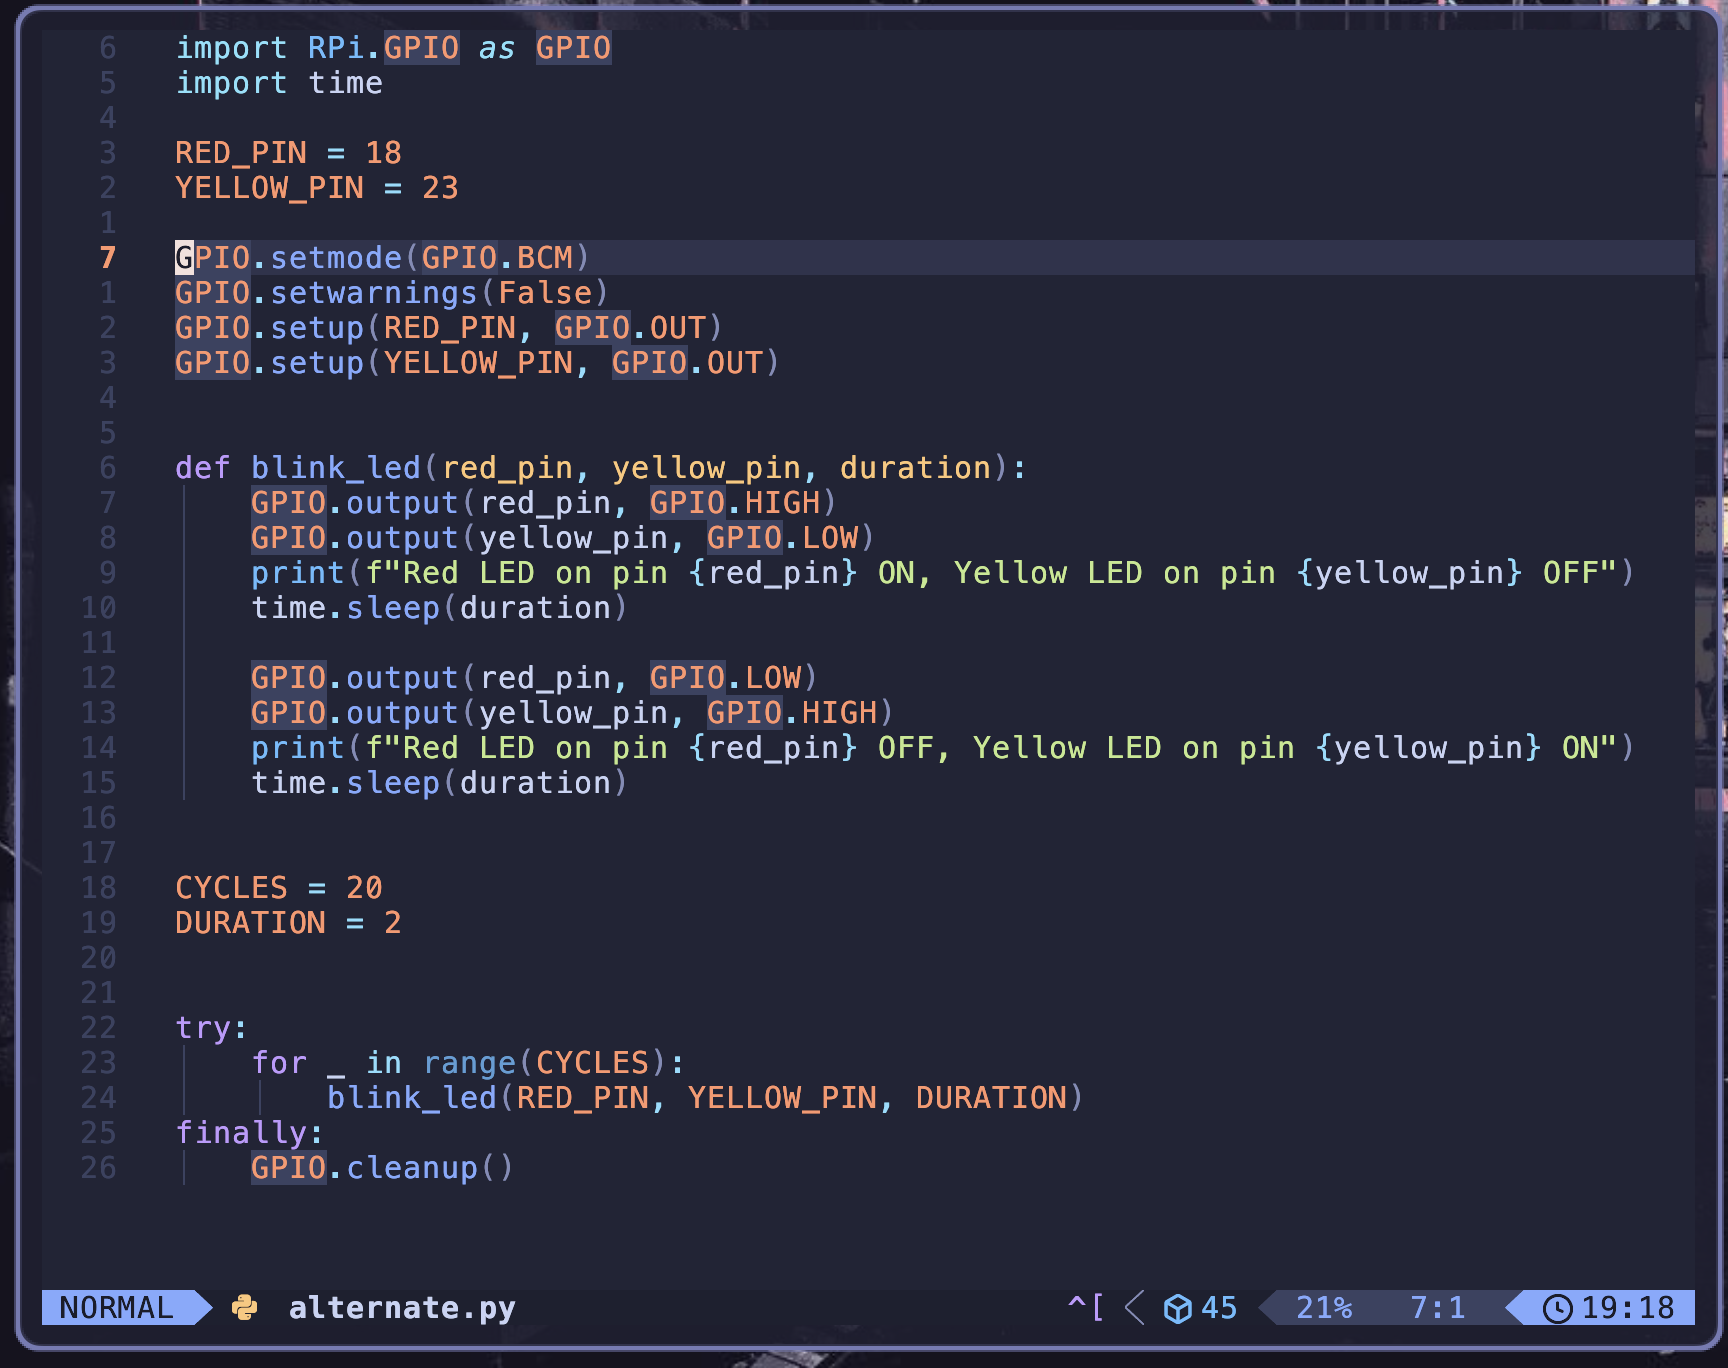
Since I am on a Raspberry Pi 5 and not 4, the code had to be changed a bit during troubleshooting, so might be a bit unconventional.
Step 5:
Screenshot
Step 6:
Screenshot


